
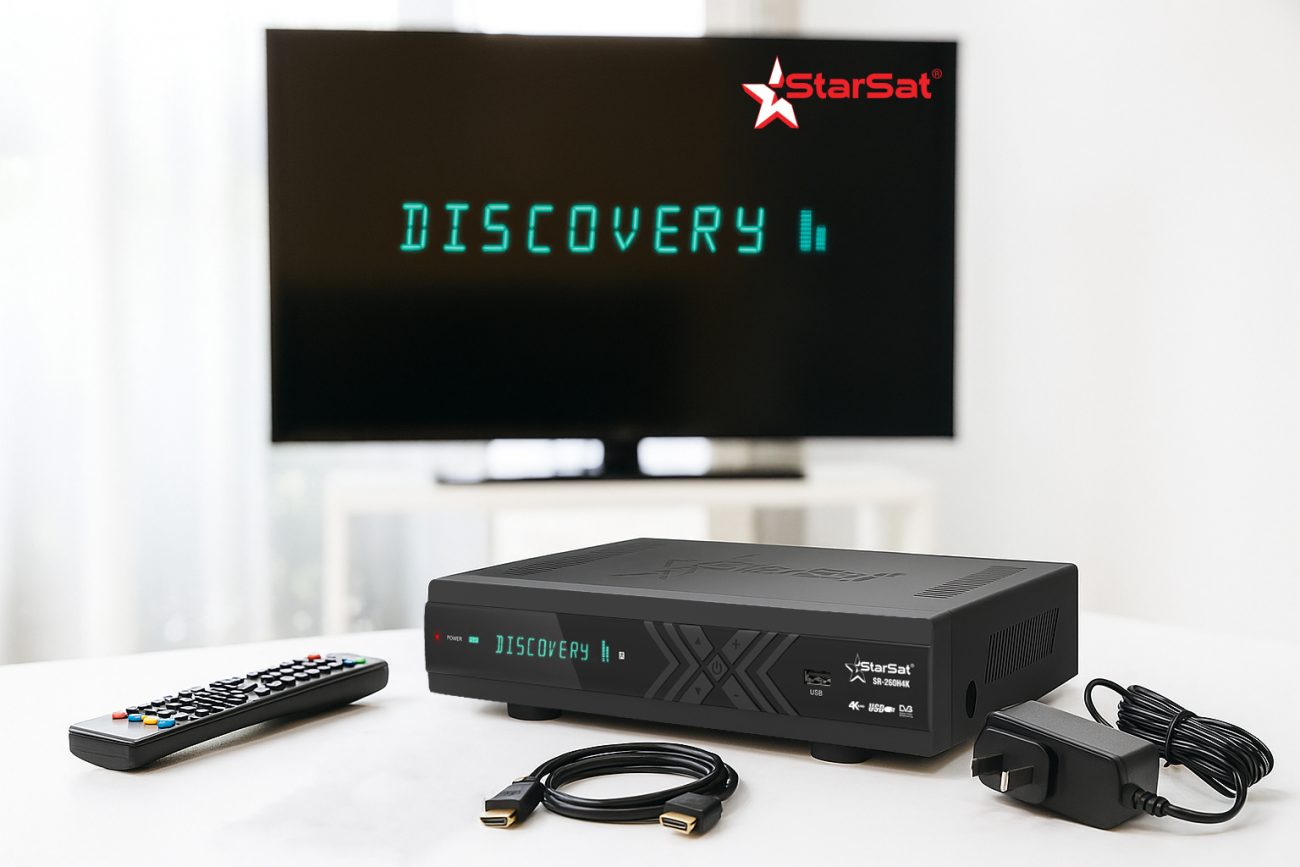
Getting your StarSat receiver up and running is easier than you think! Whether you’re upgrading your satellite TV setup 🎉🏠 or setting up your first digital satellite receiver 🌟🎁, this guide will walk you through the entire process. Ready to enjoy crisp HD channels, best satellite signal, and seamless streaming? Let’s dive in! 🎬🔥
1️⃣ Unbox and Gather Your Equipment 🎁📦🔧
First, make sure you have everything you need:
- StarSat receiver (browse all StarSat Receivers 📡🛒)
- Compatible TV 📺🖥️
- HDMI or AV cables 🔌🔗 (depending on your TV ports)
- Remote control and batteries 🔋📱
- Power adapter and satellite dish connection ⚡🔌
2️⃣ Connect Your StarSat Receiver to Your TV 🔌🔗🎛️
Use an HDMI cable for the best picture quality and sound clarity 🎞️🔊✨. If your TV doesn’t have HDMI ports, use AV cables (red, white, and yellow connectors) 🎨🔴⚪️🟡.
- Plug one end of the HDMI/AV cable into the receiver’s output port 🔌
- Connect the other end to the corresponding input on your TV 📺
3️⃣ Power Up and Select the Input Source ⚡🔛🔌
- Plug in your StarSat receiver and power it on 🔌✅
- Turn on your TV 📺💡
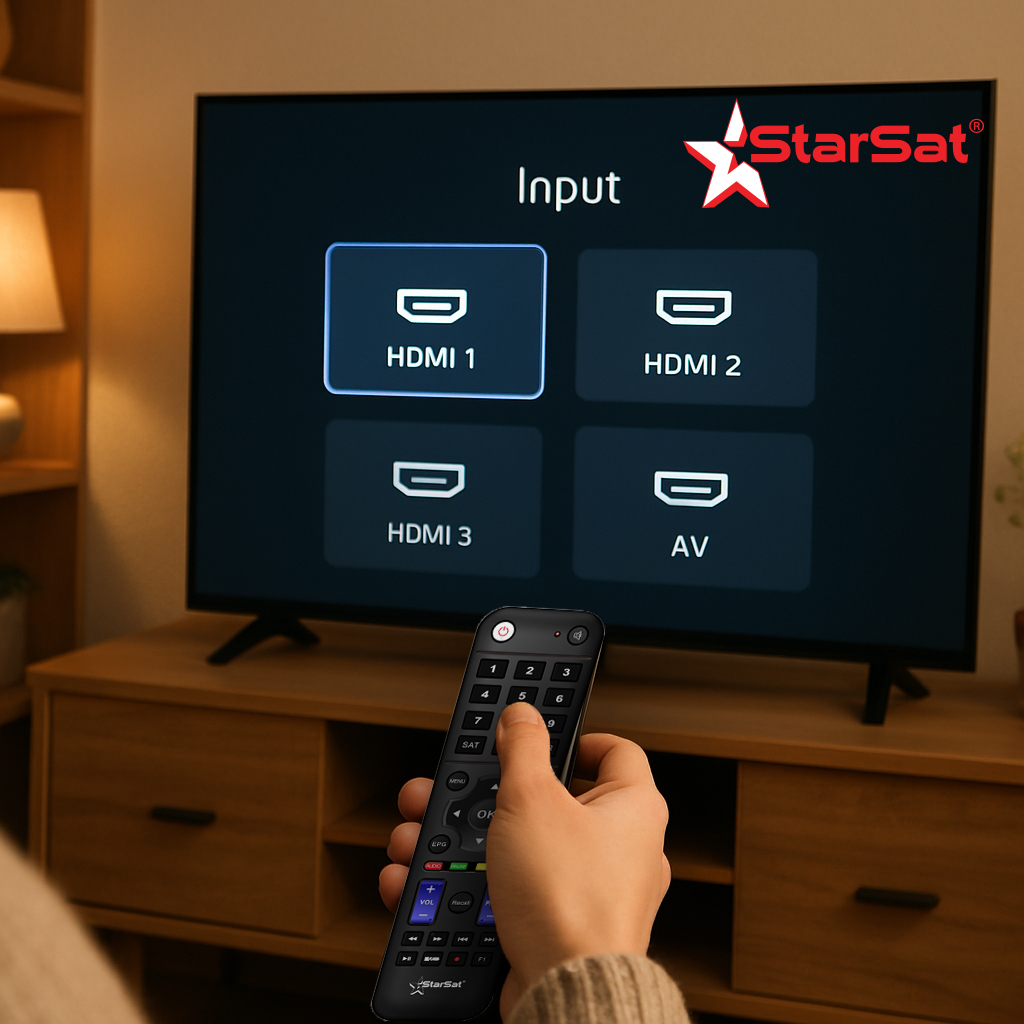
- Use your TV remote to select the input source (HDMI 1, HDMI 2, AV, etc.) that matches your connection 🎯🎮
4️⃣ Satellite Dish Setup and Signal Search 📡🔍🛰️
Ensure your satellite dish is correctly installed and connected to the receiver 🛠️📶✅.
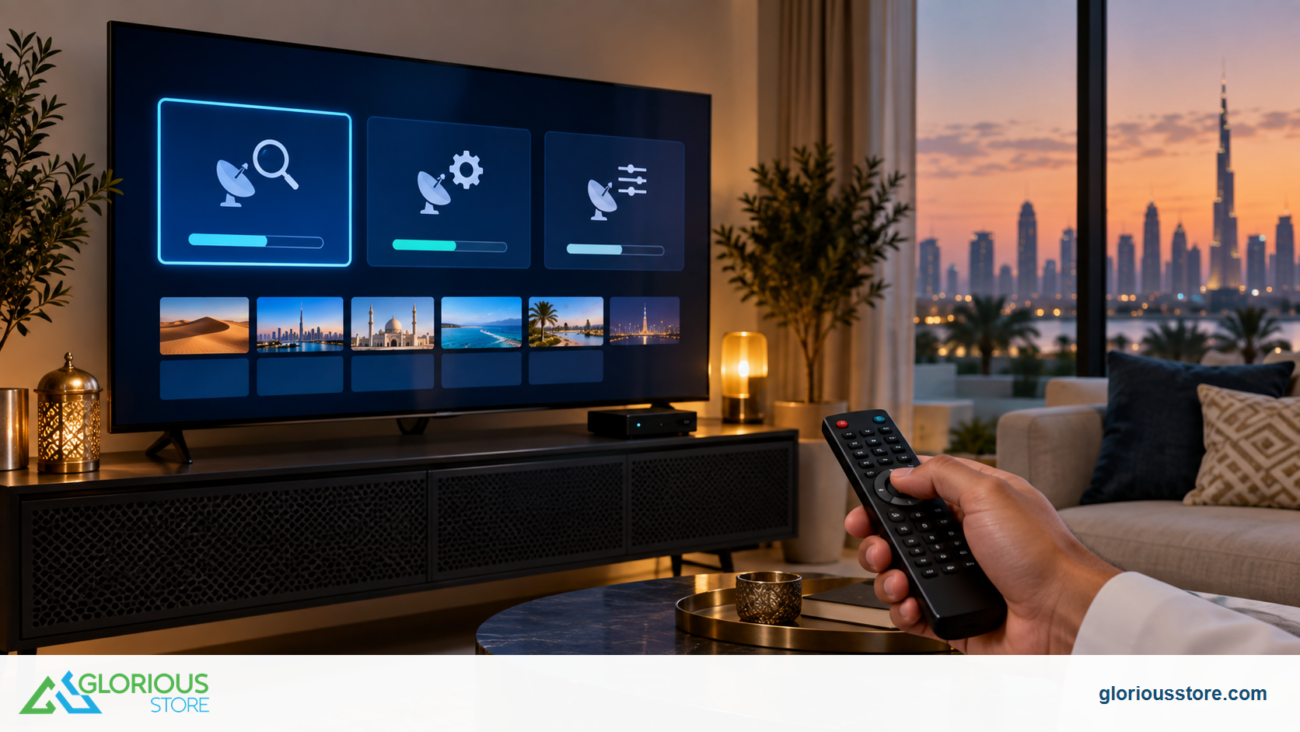
- Navigate to the receiver’s settings menu ⚙️🛠️
- Select “Satellite Setup” or “Installation” 🛰️📡
- Choose your satellite (e.g., StarSat) and start scanning for channels 🔄📻📡
5️⃣ Final Adjustments and Enjoy! 🎉🎬🍿
Once channels are found, you can:
- Organize your favorites ❤️⭐📺
- Adjust picture and sound settings to your preference 🎨🔈🎵
- Explore extra features like PVR recording, streaming apps, or HD channel guides 📼📲🎥
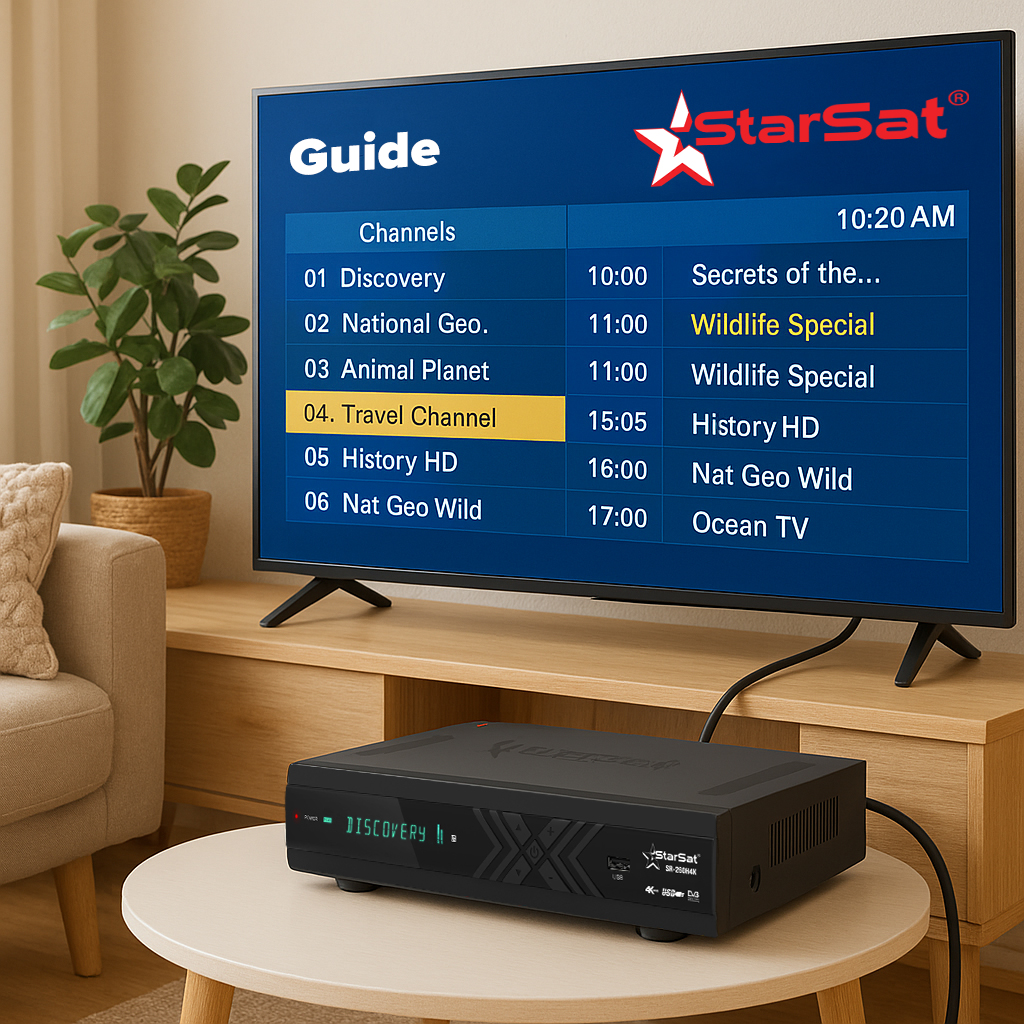
Explore StarSat Receivers at Glorious Store 🛒🛍️✨
Ready to upgrade or replace? Check out the latest StarSat Receiver models perfect for any TV setup! Check out our IP Receivers too!

Leave a comment